
Character Guide
Learn how to create and use consistent AI characters in SJinn for story videos, series content, and more.
Character Feature Guide
The Character feature in SJinn allows you to create AI-powered characters with consistent visual appearance. Once created, your characters can be easily referenced across multiple projects, ensuring visual consistency in story videos, series content, and any project requiring recognizable characters.
Key Benefits:
- Visual Consistency: Characters maintain the same appearance across different scenes and projects
- Easy Reference: Use
@mention to quickly reference characters in any project- AI-Powered Generation: The Agent automatically generates character sheets (main view + three-view) and descriptions
How Character Creation Works
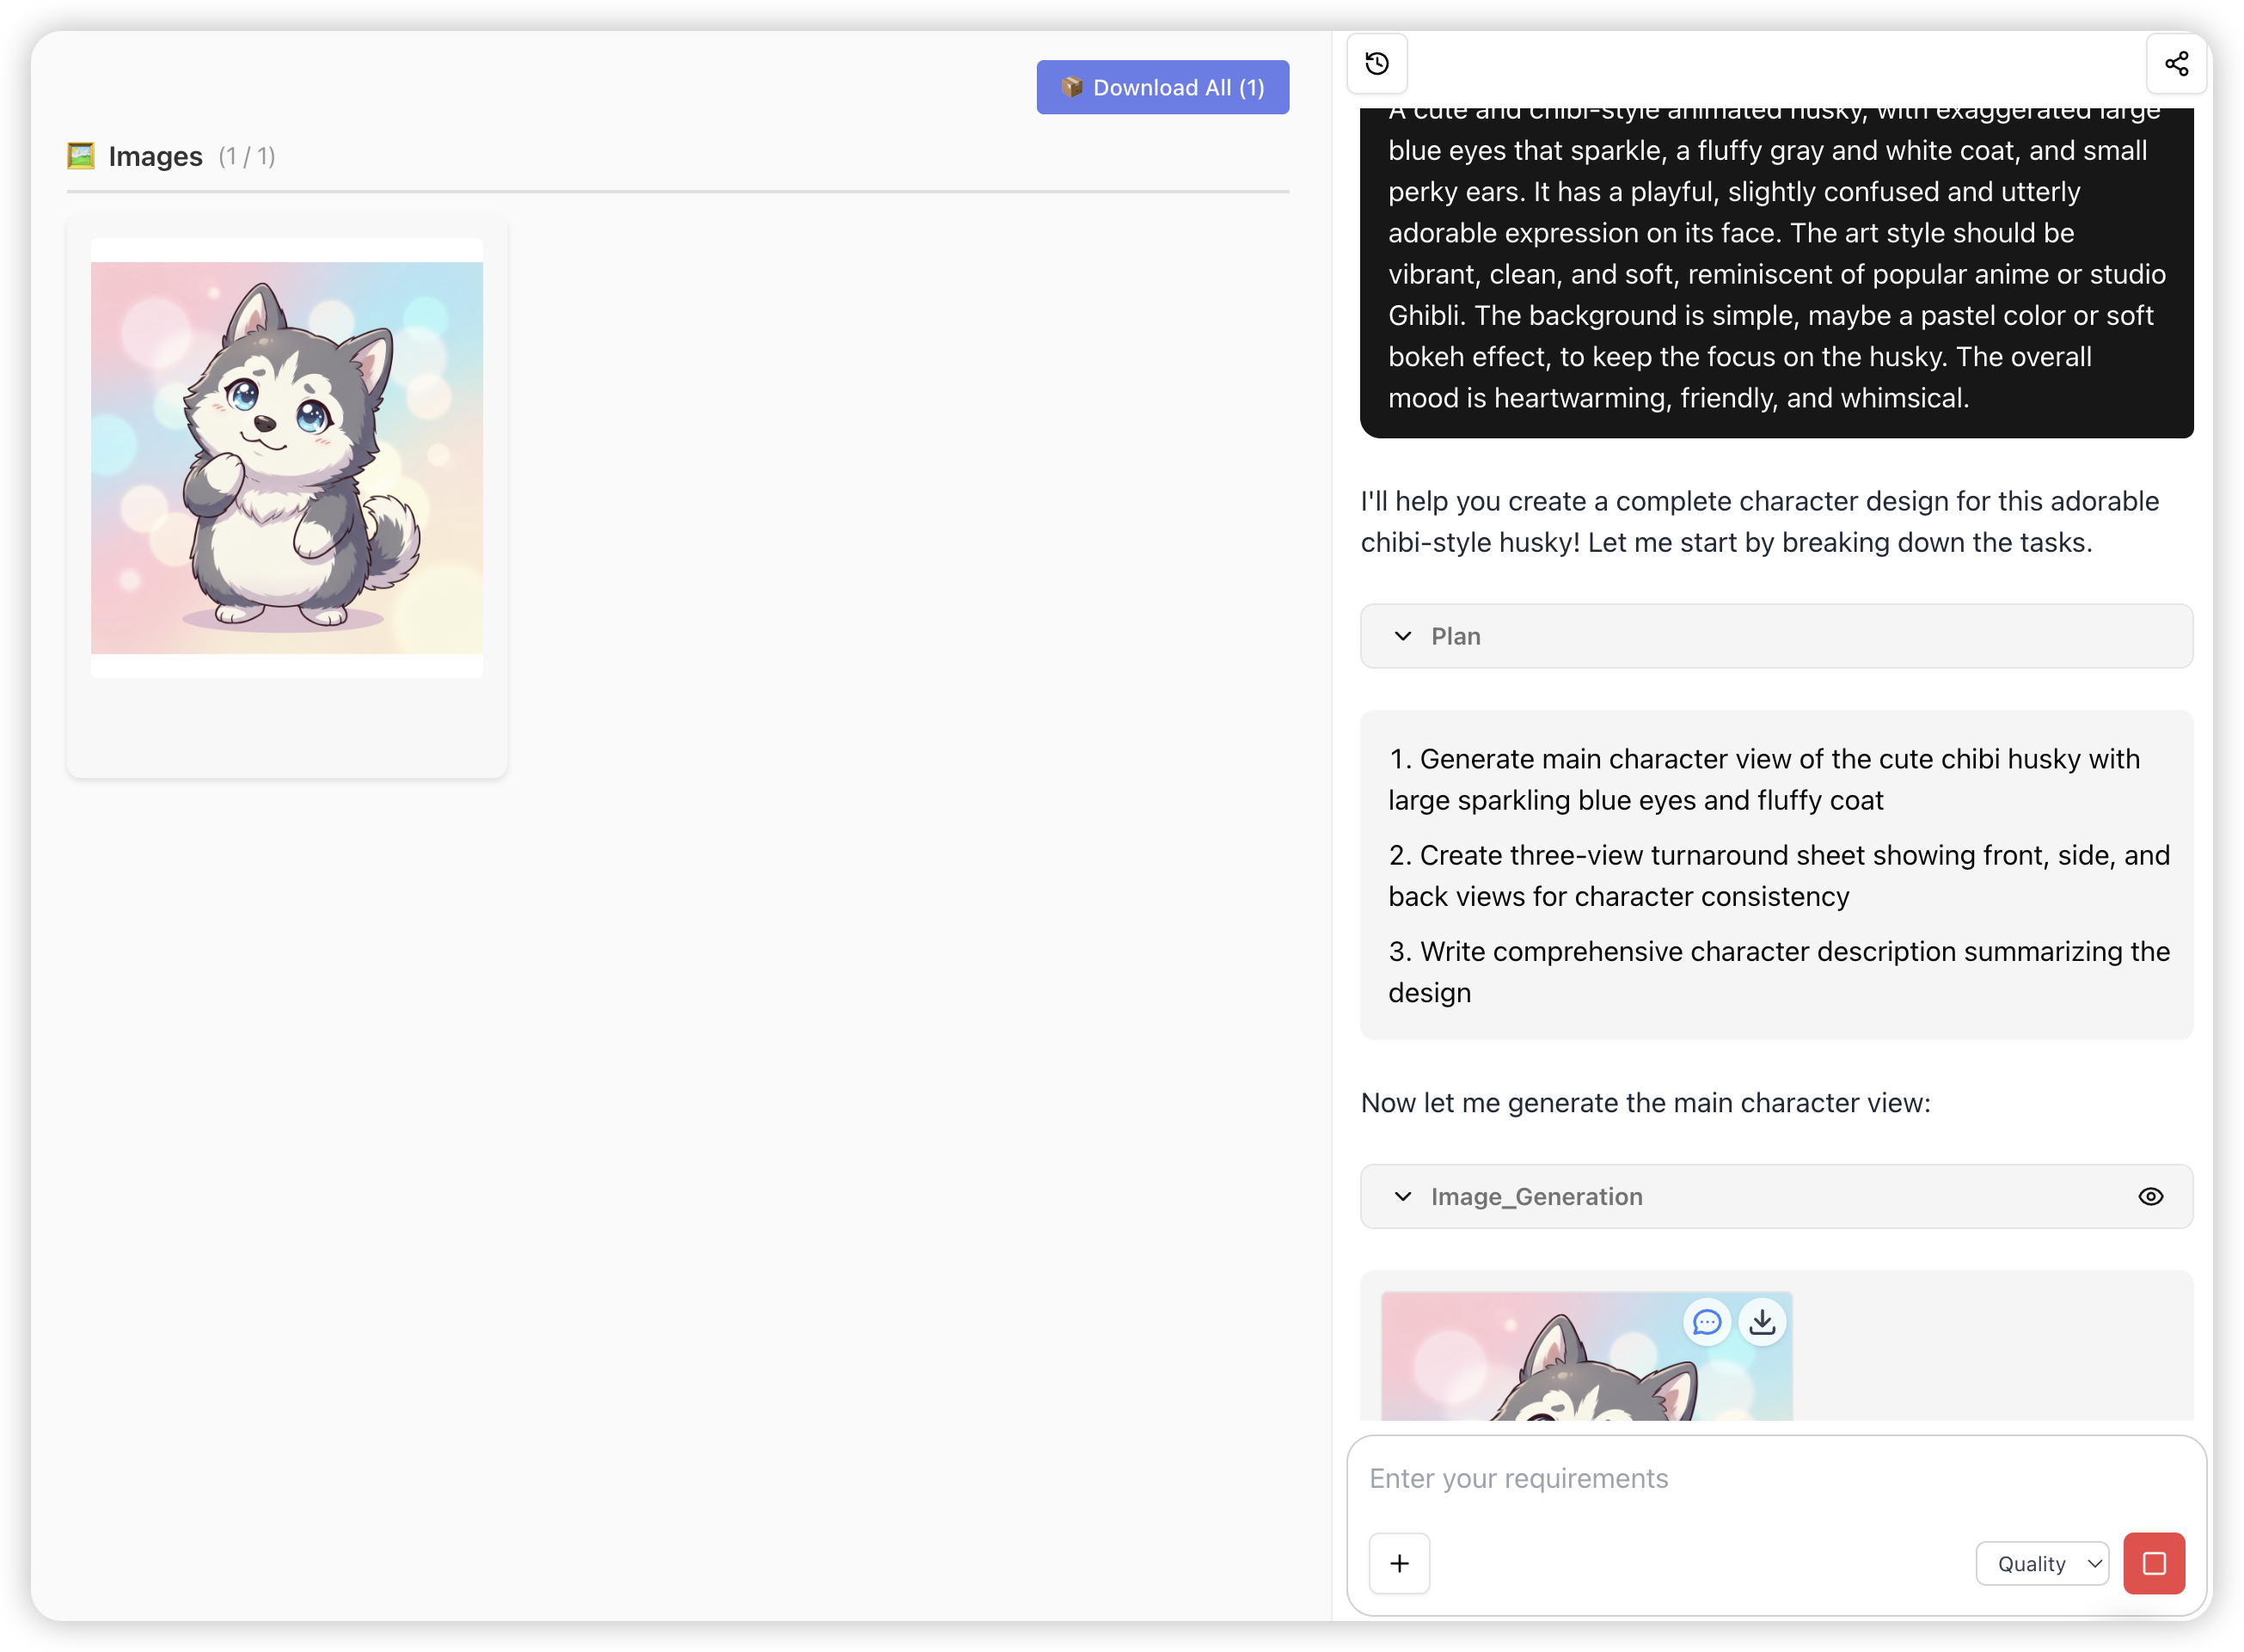
When you create a character in SJinn, the AI Agent follows a structured workflow to generate three key assets:
Step 1: If you provide reference images, the Agent analyzes them first
Step 2: Generate a front-facing full-body Main View image
Step 3: Generate a Three-View Sheet (front, side, back views) based on the main view for consistency
Step 4: Generate a Character Description summarizing appearance, style, and traits
Step 5: Output the structured result for you to save
Creating a New Character
Step 1: Access the Characters Page
Navigate to your Characters list at https://sjinn.ai/characters/list
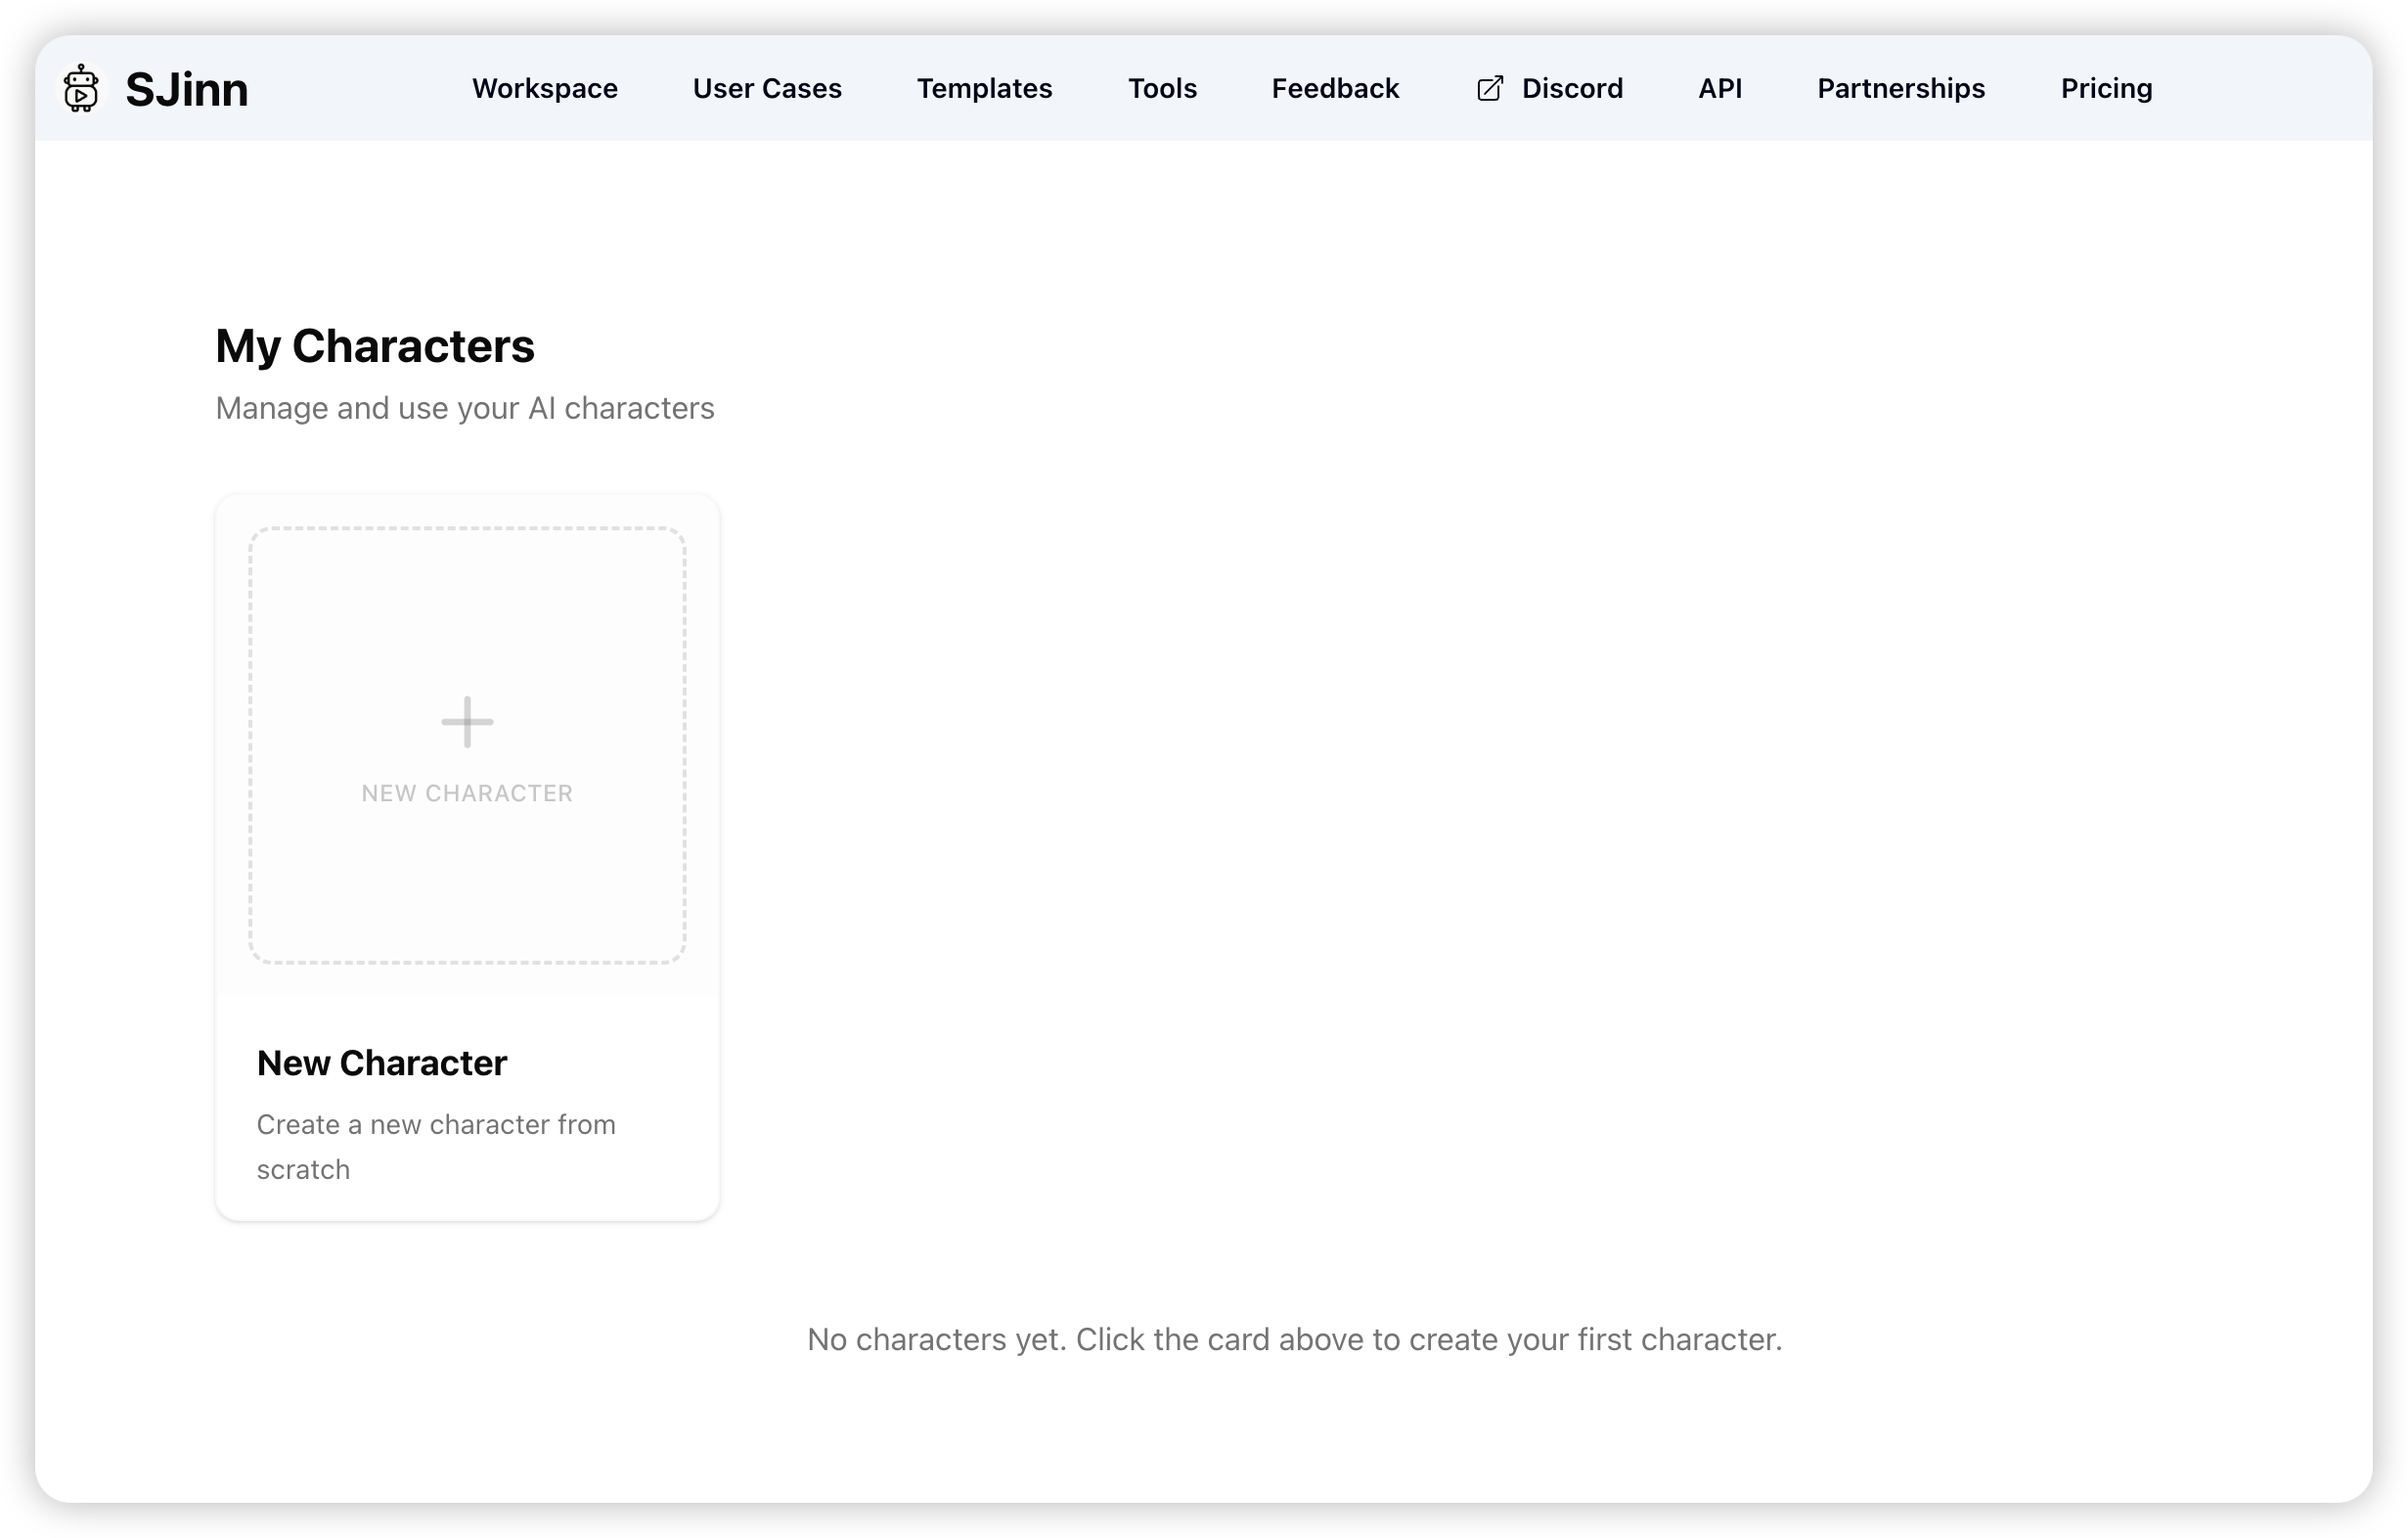
Step 2: Create a New Character
- Click the "Create New Character" button
- Enter your character's name in the dialog
- Click "Create" to proceed
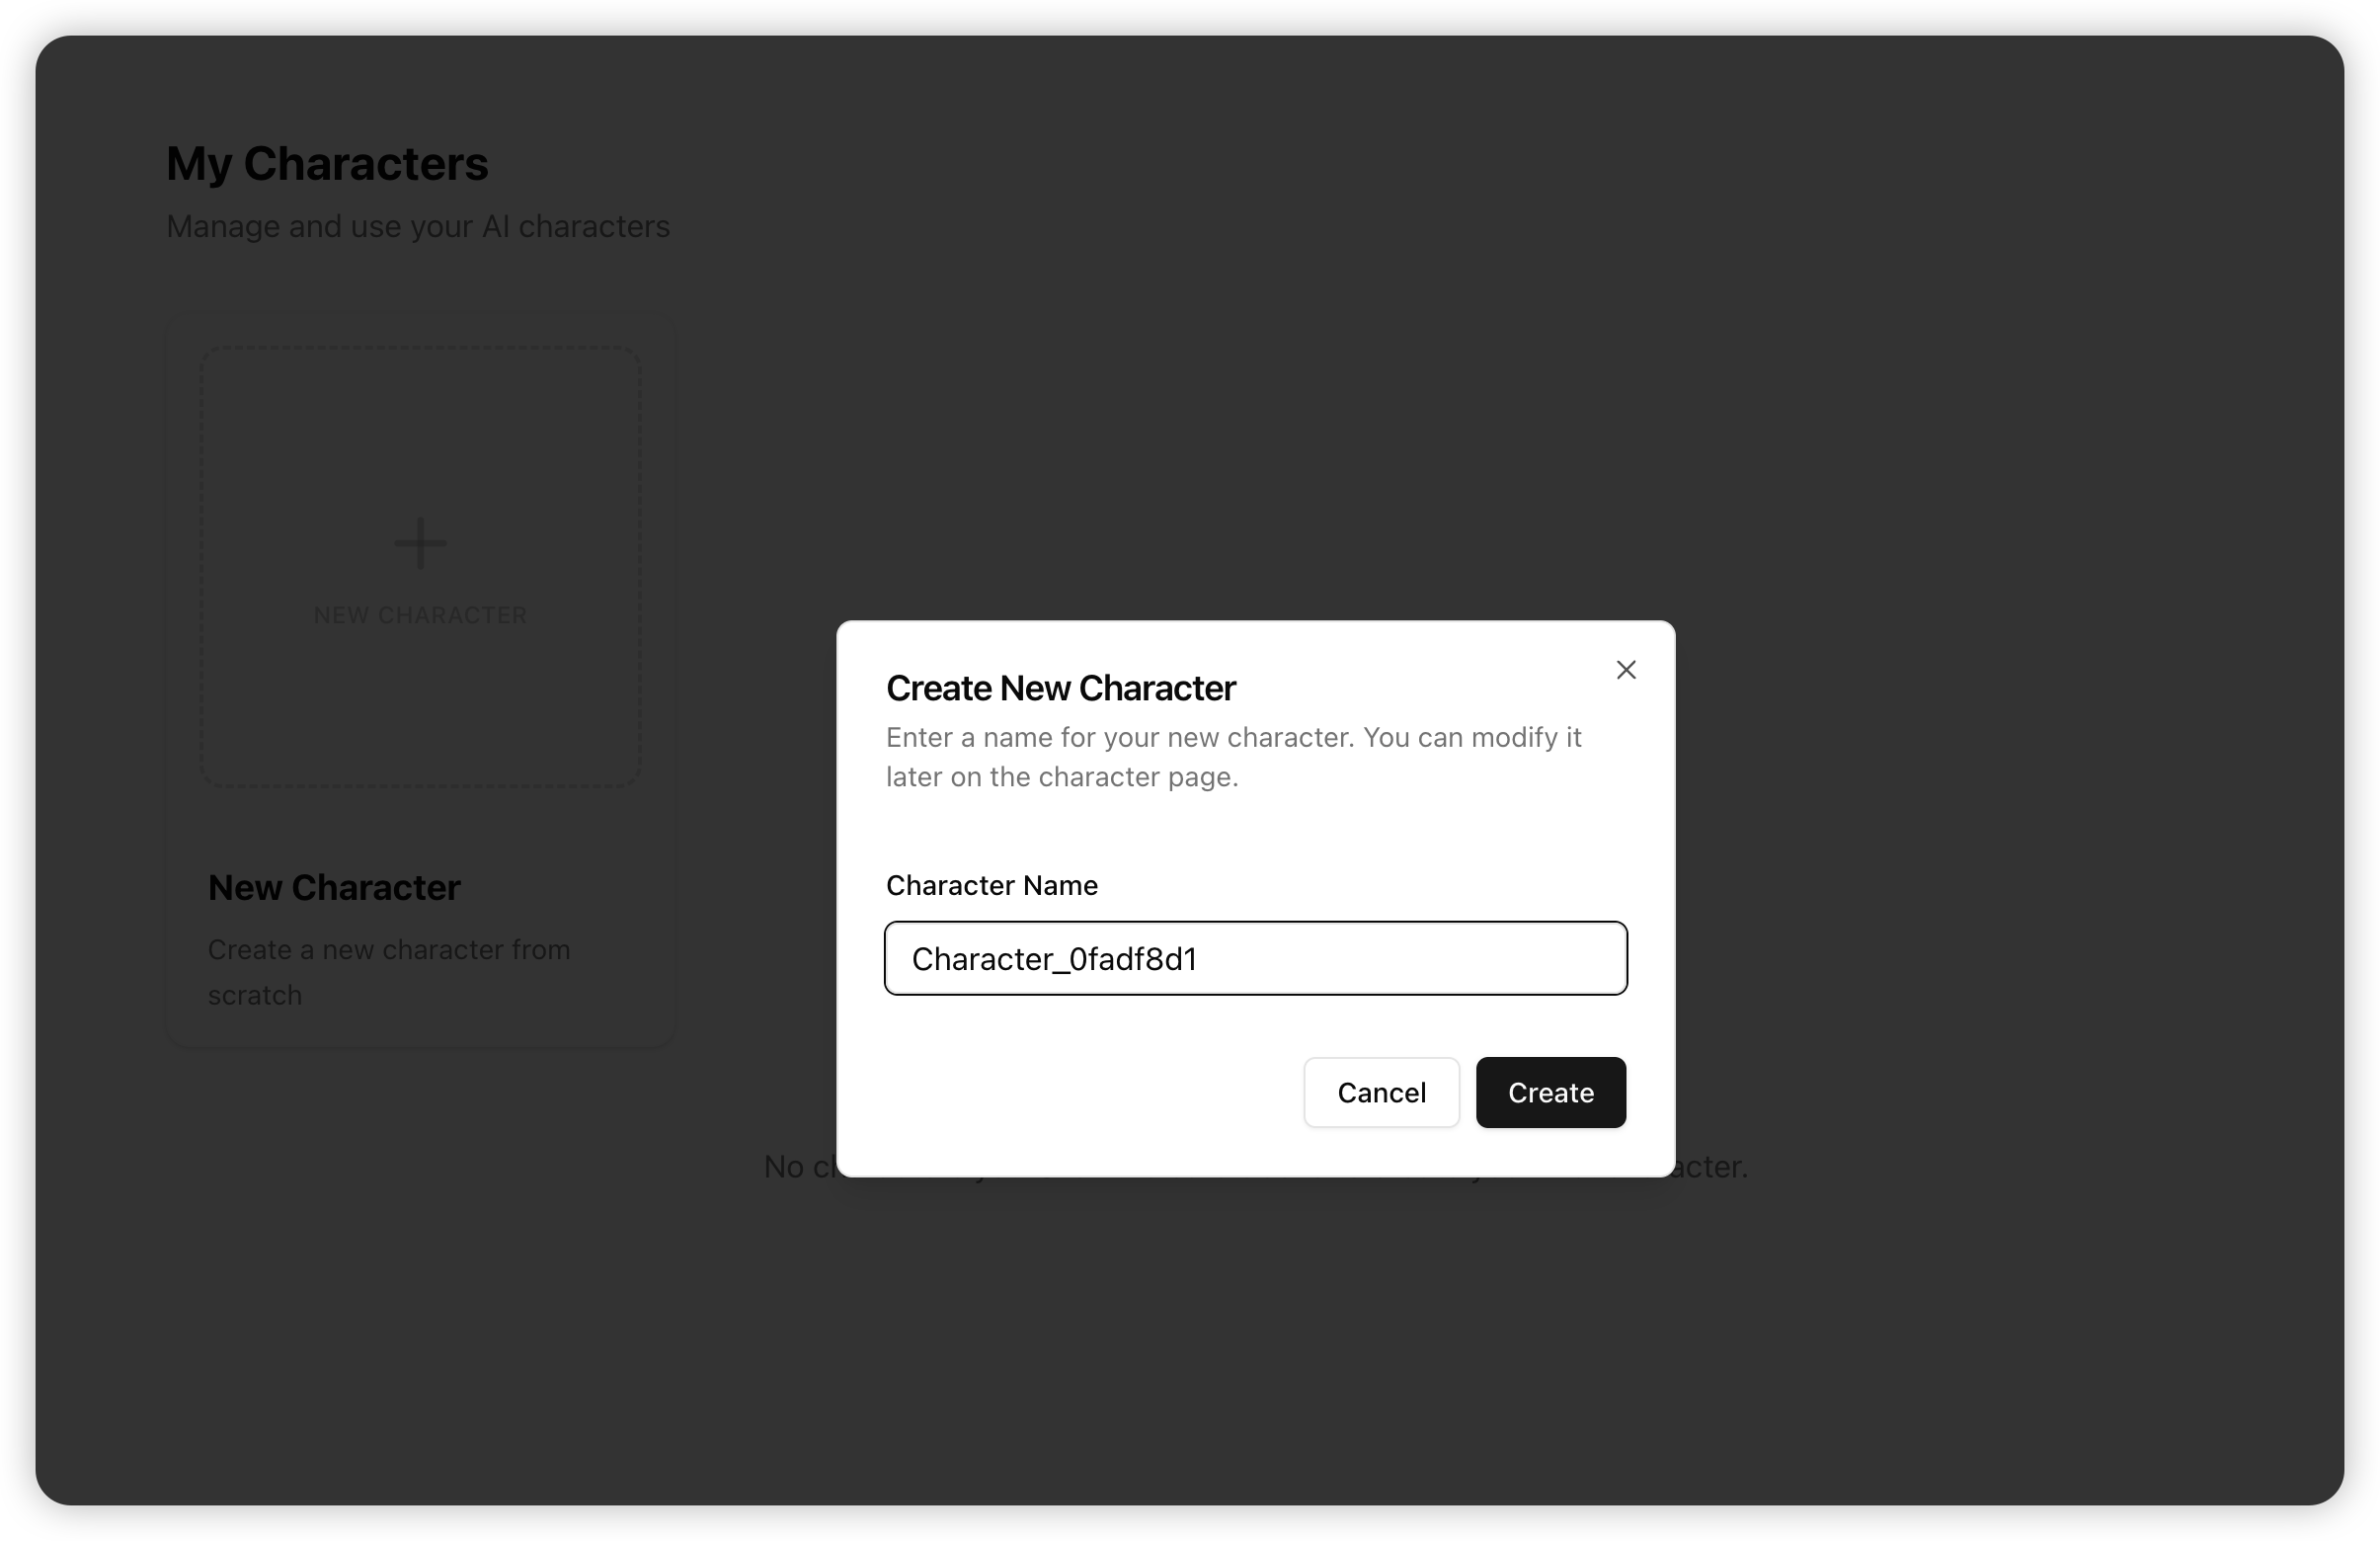
Tip: Choose a descriptive name that helps you identify the character later. Names must be unique within your account but can be changed at any time.
Step 3: Work with the AI Agent
After creating, you'll be taken to the character editing page where you interact with the SJinn Agent through conversation.
Option A: Generate from Text Description
Simply describe your character to the Agent:
Create an adorable Husky dog with a cute and silly expression.
It has fluffy gray and white fur, bright blue eyes, and its tongue sticking out playfully.
The Husky has a round face with a derpy, lovable look.
Style: Anime, kawaii, cartoon.
Option B: Generate from Reference Images
Upload reference images and the Agent will:
- Analyze the images using Image VQA
- Generate a consistent main view
- Create a three-view sheet based on the main view
- Write a character description
Step 4: Review and Save
Once generation is complete, you'll see a Character Result Card with:
- Character description (narrative summary)
- Main View image (front full-body)
- Orthographic view (three-view turnaround)
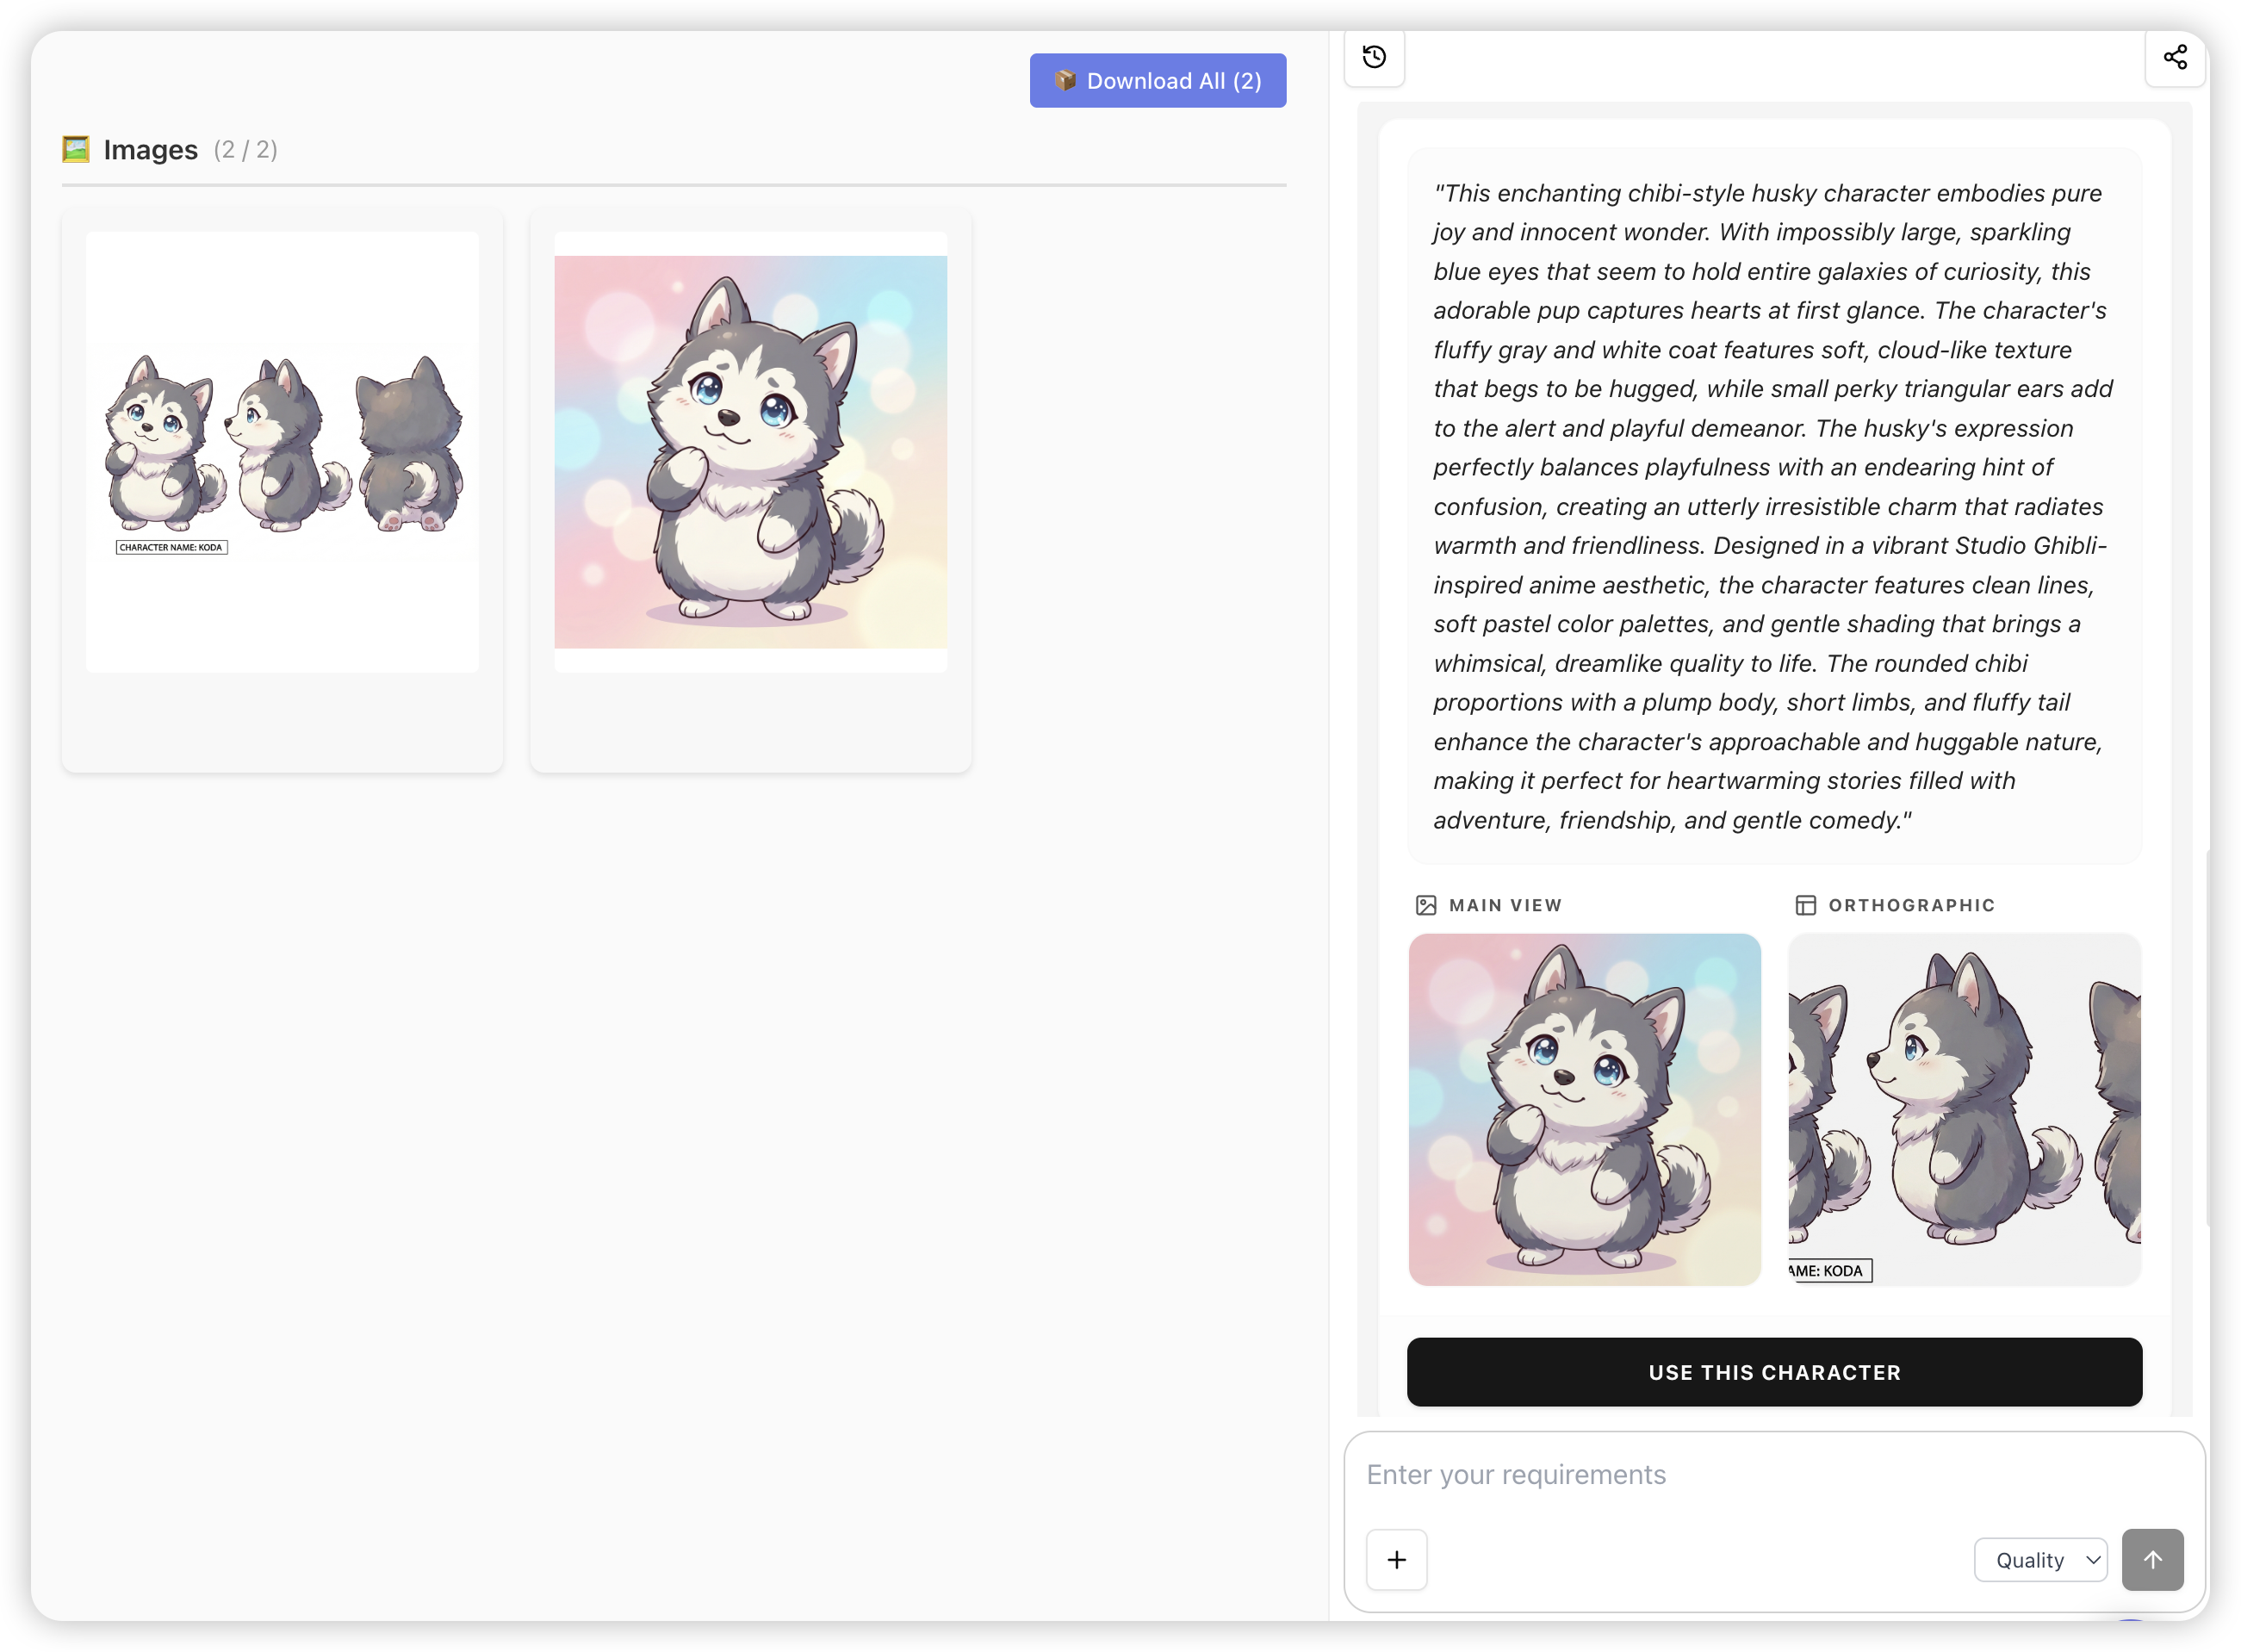
Click "Use This Character" to save the character to your library.
Managing Characters
Character List
All your saved characters appear on the Characters list page as cards showing:
- Character name
- Main view preview image

Available Actions
Edit: Click on a character card to open the editing interface
Rename: Click the pencil icon next to the character name
Delete: Click the delete button, then confirm in the dialog
Warning: Deleting a character is permanent and cannot be undone. However, projects that have already used this character will retain the character data.
Using Characters in Projects
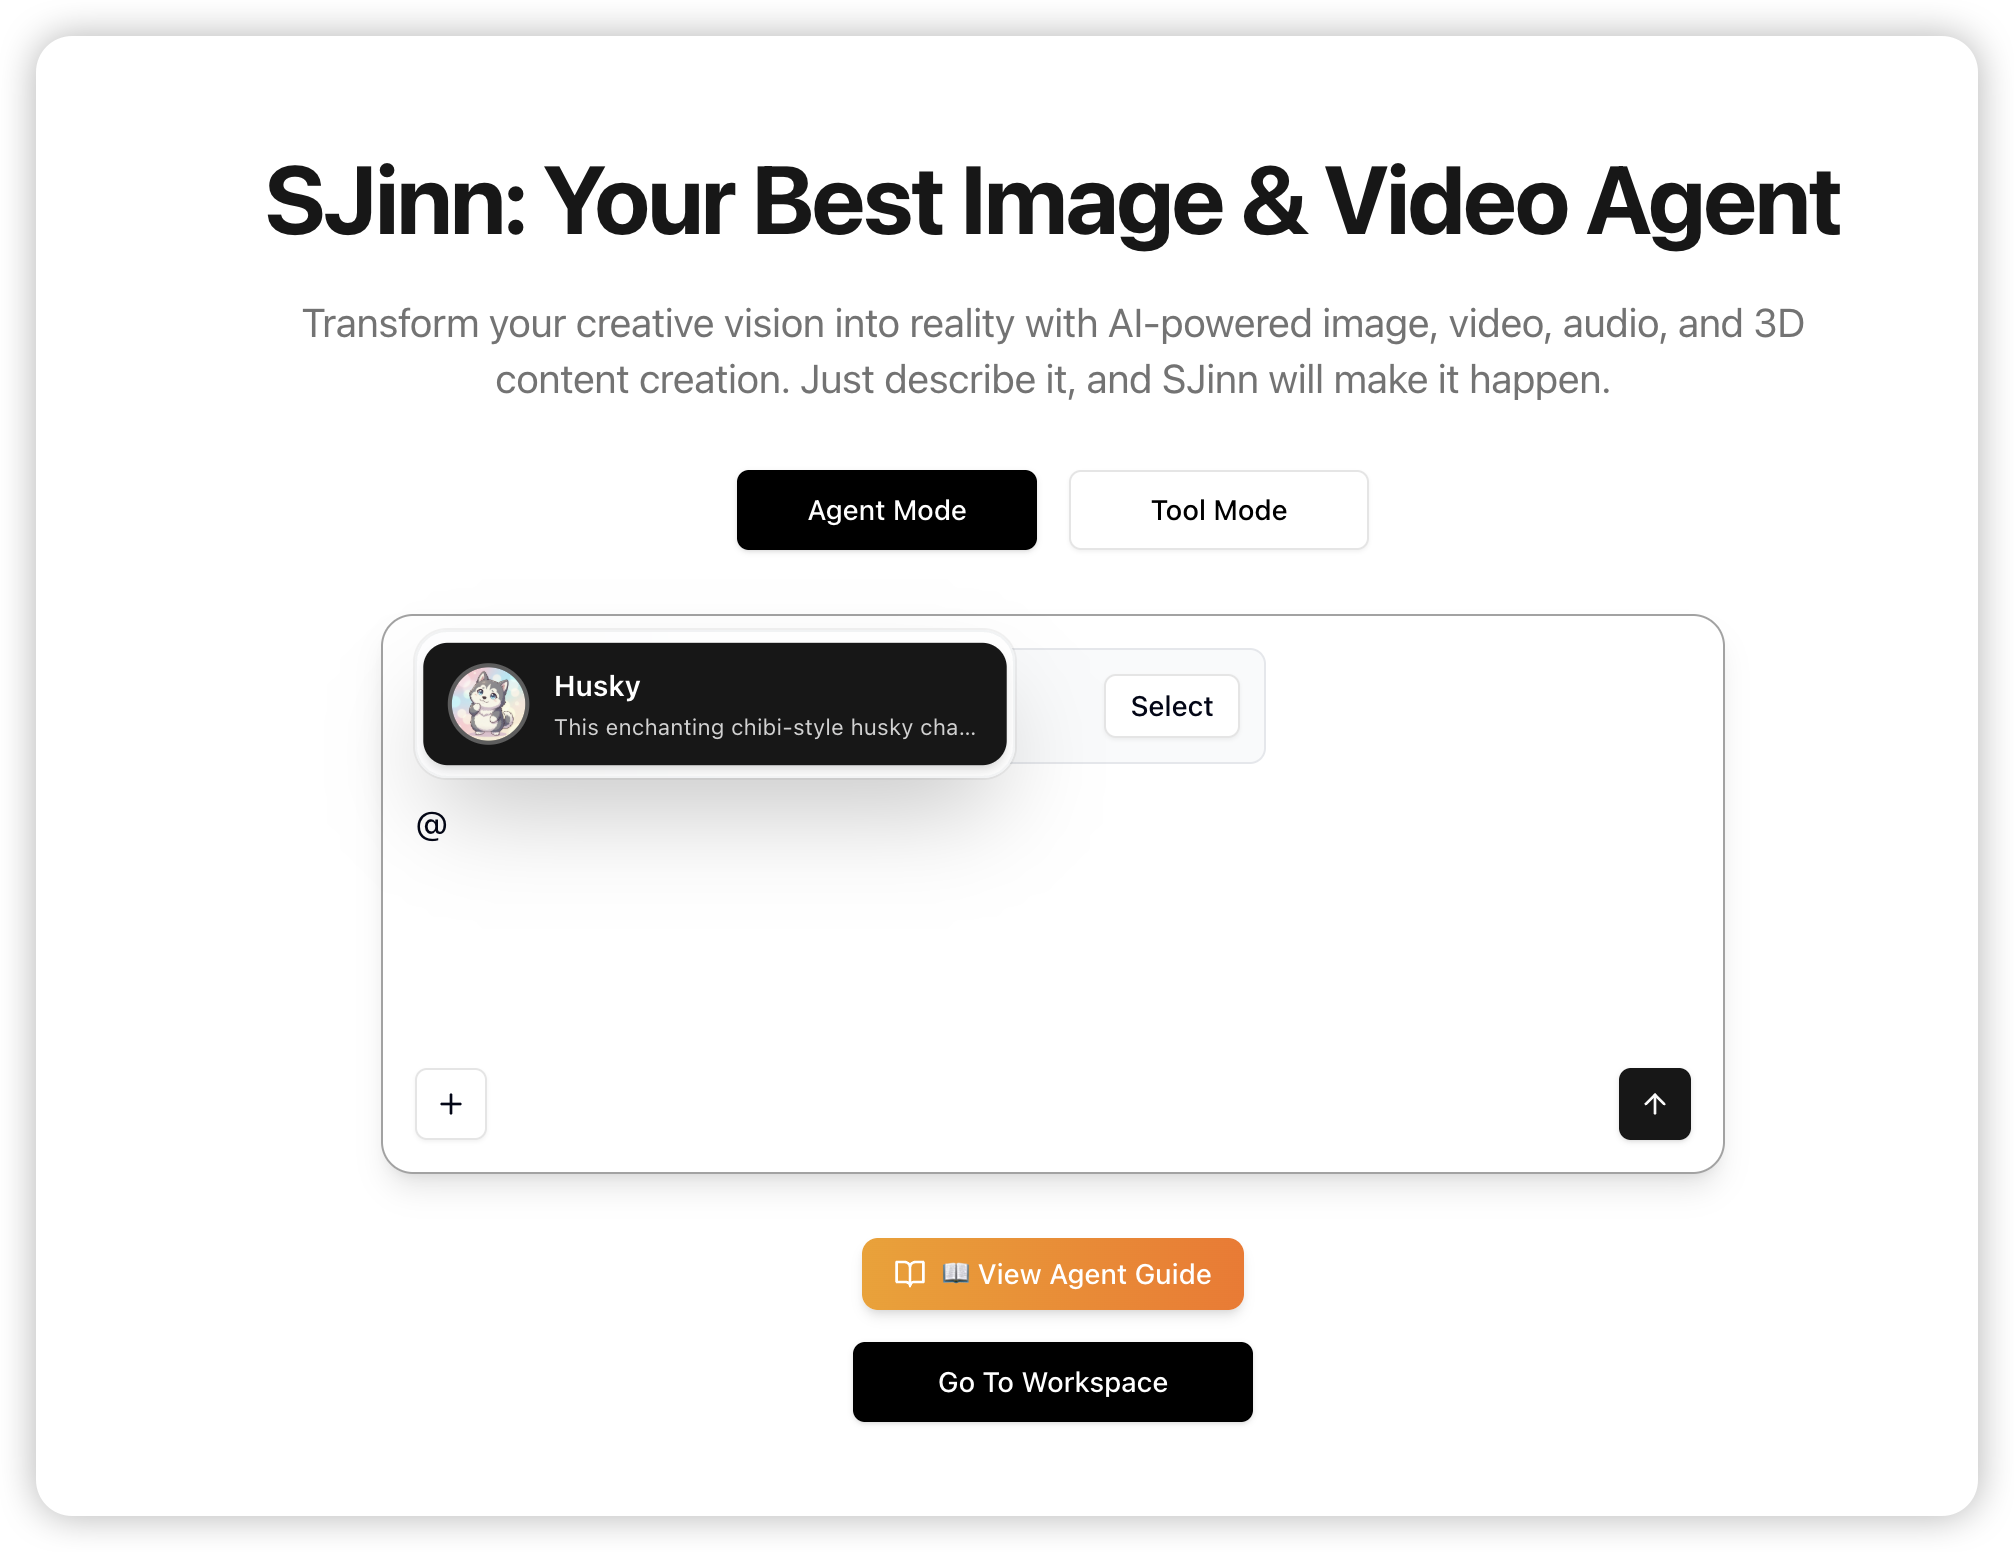
To use a saved character in any project, type @ followed by your character's name in the chat input:
How it works:
- Type
@in the chat input - A popover appears showing your available characters
- Use arrow keys or click to select a character
- The character name is inserted with their visual reference
Example prompts:
Create a video of @Sarah walking in the parkGenerate an image of @Alex in a coffee shop, reading a bookMake a story video featuring @Emma and @Tom having a conversation
Note: Only characters with a saved main view image will appear in the @ mention list.
Best Practices
For Best Character Generation
- Be Specific: Include details about physical appearance, clothing, accessories, and style
- Specify Art Style: Mention if you want realistic, anime, cartoon, 3D, etc.
- Use Quality References: If uploading images, use clear, well-lit photos or artwork
- Multiple Angles Help: Reference images showing different angles produce better three-view sheets
For Best Project Usage
- Consistent Style: Keep characters in similar art styles for cohesive projects
- Include Key Details: When using characters in prompts, mention distinguishing features
- Test Generations: Run a few test images before committing to full video production
Example Character Description
A cute and fluffy anime-style Husky named Mochi.
It has soft gray and white fur, big sparkling blue eyes, and small pointy ears.
The Husky has a chubby round face with a constantly happy, derpy expression.
It wears a red bandana around its neck.
Style: Anime, kawaii, mascot character.
Troubleshooting
Character Not Appearing in @ Mention
- The character must have a saved main view image
- Try refreshing the page to reload the character list
- Check if you're in a "character" type project (@ mentions are disabled there)
Generated Character Looks Different
- Provide more specific descriptions
- Upload additional reference images from different angles
- Regenerate and compare results - AI generation has natural variation
Three-View Not Consistent with Main View
- The Agent uses the main view as reference for the three-view
- If still inconsistent, try regenerating with a clearer main view image
Related Links
- SJinn Agent Guide - Learn how to work with SJinn Agent
- Getting Started - New to SJinn? Start here